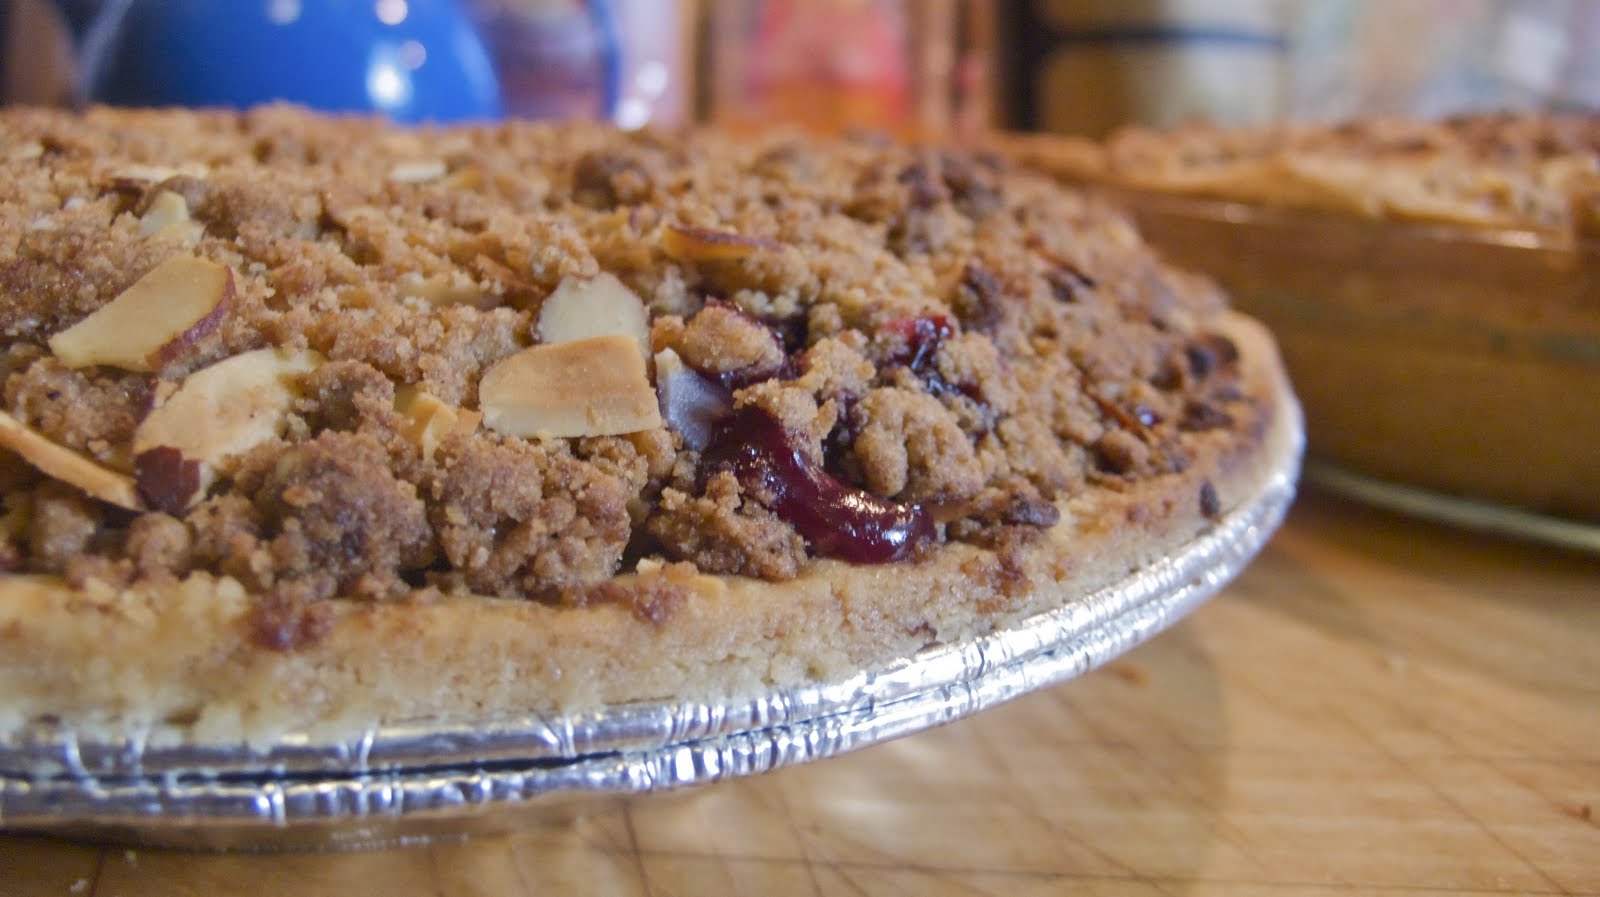
Showing posts with label almonds. Show all posts

Saturday, December 10, 2011

Jack is Cooking Blueberry Almond Tarte

Well Hello Internet!

I made a delicious blueberry almond tarte for thanksgiving this year.  I felt there needed to be something besides pumpkin and pecan pie.  So i made this delicious creation instead.  

It is very simple to make. There are basically only two elements that need making, and that is the crust, and the Crème d'Amandes.

you will also need:

Blueberries (1 pint)
Almond Slivers
a 9 inch tarte ring

You can use any crust you like pre made or otherwise, but i like to make a hazelnut crust, which is excellent for any sweet crust.

Here is my recipe for hazelnut crust (this will make about three 9 inch tarts) 

125 grams powdered sugar
250 grams butter
3 eggs (room temperature)
300 grams flour + a little extra
150 grams hazelnut meal
75 grams almond meal
1/2 teaspoon baking powder

1.  Cream the butter and the sugar in a mixer.
2. Add the eggs one at a time until full incorporated into the butter/sugar
3. Mix in the flour, hazelnut meal, and almond meal.  it is possible that the dough will still be a little wet, so just add in a little more flour until the dough holds together in a ball.
4. Refrigerate until firm (at least 1 hour).  This dough can be frozen, and used at a later date.


While the Crust is Chilling you can make the Crème d'Amande.
For one 9 inch tarte you will need this:

165 grams butter
165 grams sugar
165 grams Almond Meal
2 eggs (room temperate)
30 grams corn starch
1/2 teaspoon vanilla (or 1/2 a vanilla bean scraped out)
30 ml Goslings Rum (or other dark rum)

1. Cream the butter, sugar, and almond flour.  
2. Add Eggs one at time.
3. add corn starch
4. add vanilla and rum, and mix until fluffy.

This can also be put in the fridge and or frozen until the time you want to use it.

To make the Tarte:

(preheat oven to 375°)

1.  Roll out the crust, and place in tarte ring.
2.  Fill evenly until with the crème d'amandes. (you don't want to fill it all the way up.  about 80%.  There will be displacement!!)
3.  Artfully place the blueberries on top of the crème d'amandes, but do not push them down.  just let them rest on top for now.
4. take the almond slivers and place them around the edge of the taste, on top of the blueberries.  if you desire you may also put them in the middle.  


5. Bake in the oven for 35 minutes, or until the top is nicely golden.  You will notice that the blueberries have sunken into the crème d'amandes,  which is exactly what should happen!


When it cools remove it from the Tarte Ring


And Serve it warm with whipped cream


There is no way this cannot be delicious!

Saturday, July 23, 2011

Jack is Cooking Peach and Berry Pie

Well Hello Internet!

Since yesterday was the hottest day of the year (i think it got up to 108°  -  which as a LOST fan obviously holds some special significance...)  I decided that i should turn my oven on to 400° and make a pie.  An extremely Delicious, gooey, oozing pie filled with very delicious Ingredients.

it all started because i found a Peach in my fridge.  Peaches are my absolute favorite fruit, and after eating it for breakfast, i just had to have more.  I hadn't baked anything in a while, so i figured i would make a pie.  but that's not all i found in the fridge, there were a few blackberries also!  This got my mind gears moving and i decided that i would make a Peach and Blackberry Pie.

However, since I had eaten all of the peaches and blackberries in my fridge I would have to go buy more.  So I braved the heat, and walked to Union Square market to buy some more Peaches.  Upon arriving I encountered more berries than I could walk away from, and so along with the Peaches and Blackberries i had set out for, i returned home with blueberries and gooseberries.  (GOOSEBERRIES!)

Delicious Fruit


and Baking Ensued!

Here's what you will need to make this pie - and you should definitely make this pie.

for the Crust (Pâte Brisée)- from Julia Child:
2 cups A/P flour
1 tsp Salt
1/4 tsp Sugar
1 and 1/2 stick (6 oz) chilled butter - cut into small cubes
4 tbspns chilled vegetable shortening
1/2 cup of iced water

For the Filling:
7 or 8 Peaches
8 oz blackberries
8 oz blueberries
8 oz gooseberries (stemmed)
1/4 cup white sugar
1/4 cup brown sugar
1/4 cup flour
1 tbspn corn starch
2 tsp vanilla extract
the inside of 1/2 a vanilla bean (optional, but steps it up a notch)
3 tbspns Rum

For the Crumble
1/2 tspn cinnamon
1/4 tspn nutmeg
3/4 cup granola
1/4 cup sliced almonds
1 cup flour
1/2 cup brown sugar
1/2 cup Cold Butter

preheat oven to 400°

To make the Crust
Put all the ingredients except the water into a bowl, and cut the butter and shortening into the flour until it resembles a texture similar to oatmeal.  don't overmix the butter in, just get it to this crumble state.  (later i will do a post purely on Pie Crusts)

Add half of the water in, and mix until it just comes together.  if it is still very dry slowly add a little bit more water, but depending on the humidity of the day you will use more or less water.  (since it was VERY humid yesterday i used very little water at all)

once the dough has come together in a flaky ball, take walnut sized pieces smear them with the heel of your hand against the counter.  this will finish the mixing of the butter and the shortening.  gather all the dough together and wrap it up and chill is for an hour.

Next! prepare the fruit!

Peel and slice the peaches (this is a tedious, messy operation), put them in a bowl with the rest of the fruit, and add all the rest of the ingredients, and mix it up gently, as you don't want to destroy the lucious berries.
the fruit!

Now, since that probably took about an hour, take the chilled dough out of the fridge and roll it out on a floured board, and place it into your pie container.  Add the filling to it.  don't worry if its overflowing a little bit.  LET IT OVERFLOW!

put this in the fridge while you make the crumble.

to make the crumble (this ones easy!):
add all ingredients together in a bowl and mix (with your hands!!!!) until crumbly.
put it over the filling
before baking
(as you can see i actually made two.... but the ingredients listed here are only for one!)

place it on a tray and cook it first for 20 minutes uncovered.  then cover with tinfoil and bake it for another 25 minutes.  finally remove the tinfoil and bake it for a further 15 minutes.  Remove from the oven and let it cool for 30 minutes.

and then:

yummmmm

and then
want to eat
 and then
must. wait. 30. minutes 
and then yes you can eat it, and just look how delicious and gooey and sticky and scrumptious this is...
and save some for somebody else!


mmmmmm........

Sunday, April 25, 2010

Jack is Cooking Tarts

Well Hello Internet!

On this rainy sunday i decided to see if i could recreate some of the tartes we made in school at home.  except with a few of my own twists!

so i made a tarte in same style as a tarte bourdalou, except instead of pears i used peaches.

but i did everything the same, i poached the peaches and made an almond cream.  it was a little more difficult with peaches because they are a bit softer.  and unfortunately one of my peach halves got destroyed when i was trying to get it off of the stone, so i ended up with only 5 peach spokes instead of 6.  oh well, i bet its delicious still!

here it is before baking:


and after:


then i made a tarte aux pommes (apple tart).  for this tarte for the apple compote i used a sweeter apple so i wouldn't have to use so much sugar.  i cooked it in goslings rum to give it some extra yummy flavor.  then since i had some almond cream left from the peach tarte, i put some of that on the bottom.

on top i used granny smith apples since they are nicely acidic.  i cut them up really thin, and arranged them in such a way that i was able to have three spinning layers instead of two.  it ended up looking pretty cool.

Here it is before baking:

and after:


and both together!:


mmm mmm delicious!

Thursday, April 22, 2010

Jack is Cooking Pastry #3

Well Hello Internet!

Tonight in class we made a Linzer Tort.  its pretty delicious looking, but man was it tough.  not because of any particular reason but mostly because the dough is so soft it breaks so easily!  anyways its filled the crust is made from hazelnuts, and its filled with almond cream and raspberries. 

we also made a tarte flambée, but i forgot to take a picture of it.  its basically just a pizza with tons of caramalized onions covered with a custard made from creme fraiche, fromage blanc, and an egg, topped with bacon and cheese.  yup pretty much a pizza heart attack... delicious but yeah... not exactly something i'd make all the time.

but here is the linzer tort! 

p.s. i just tasted this tort, and while its pretty good, we used some kind of premade raspberry filling.  which while is ok i absolutely know that if i ever made this again i would go through the trouble of making the raspberry fillings myself, because i absolutely love raspberries, and this just needs to be more raspberry-y!


Friday, April 16, 2010

Jack is Cooking Pastries #1

Well Hello Internet!

so i have started at pastry school (at the French Culinary Institute in NY)  to learn how to professionally make all sorts delicious pastries!  after i learn how to make them awesomely i am going to attempt to make these all gluten free.  which so far, should be fairly east to do!  

anyways here are the first two things we made!
since this is the first time i am making these, and the recipes are most definitely not mine or altered in any way i won't be posting the recipes until i play with them a bit, but i will be posting my progress throughout the course!!

The First is a Tarte Aux Pommes

this is a delicious tart with a pâte sucrée, apple compote, and sliced apples on top finished with an apricot glaze.   super delicious!  

The Second is a Tarte Bourdaloue

this tarte also has a pâte sucrée, filled with almond cream (super delicious) and topped with poached pears and sliced almonds, and finished with an apricot glaze.  

This might be the most delicious thing i have ever made.

oh man.  it makes me drool just looking at this picture.  stay tuned for more pastries!  i have class twice a week so i will be posing delicious pastries at least once a week for the next three months! 

mmmm mmmmm delicious!!!

Thursday, November 19, 2009

Jack is Cooking with a Tajine


Well Hello Internet!

This post has been sitting in my computer waiting for some attention for quite a while now, but finally here it is!  Two weekends ago i made a semi-traditional Moroccan dish using my Mom's Tajine.

Tajines are pretty awesome.  Heres what wikipedia has to say about them:


A tagine or tajine (pronounced /tɑːˈʒiːn/; Arabic: طاجين, pronounced [tˁaːdʒiːn]) is a type of dish found in the North African cuisines of Algeria, Morocco, andTunisia, which is named after the special pot in which it is cooked. A similar dish, known as Tavvas, is found in the cuisine of Cyprus. The traditional tagine pot is formed entirely of a heavy clay which is sometimes painted or glazed. It consists of two parts; a base unit which is flat and circular with low sides, and a large cone or dome-shaped cover that rests inside the base during cooking. The cover is so designed to promote the return of all condensation to the bottom. With the cover removed, the base can be taken to the table for serving.

here's what it looks like:


Anyways, i made a buttercup squash Tajine (but you can use any kind of winter squash.  i LOVE winter squash!)  for the most part this dish is really easy to make.  If you don't have a Tajine, you can make the same thing in a casserole dish, but it will come out differently because of the lack of the magic cone shaped top.


To accompany this Tajine, i also made some chicken.  i'll talk about that in a bit.


so heres what you'll need:
For the Tajine:
squash (of any winter variety)
whole cloves of garlic (a whole bunch)
shallots (depending on the size maybe 5 or 6)  also whole.
olive oil
harrisa paste
honey
almonds
raisins
saffron (optional)


For the Chicken:
Chicken split breast (i recommend Herondale Farm chicken!)
yogurt (2 cups)
onions
whatever spices you want


So First i chopped up the squash (well i didn't, but somebody did!  haha)
and we peeled the shallots and the garlic


* update! *  it has been pointed out to me that credit is due!  Roland, chopped up the garlic and the shallots!
and Julie cut up the Squash!  haha.  always give credit where credit is due!  i knew i didn't chop that stuff up...


Then i took the Chicken, and marinated it in the yogurt along with some onions i had sauteed along with some indian spices that i don't know the name of.  i will try to find out the name and update this post!!  so yeah, take the sauteed onions and mix it with the yogurt and let the chicken sit in it for maybe 30 minutes:


Now for the Tajine!
first take a couple good dregs of olive oil and start cooking the shallots and garlic over a medium heat.


once they are getting a little soft add in 1/3 cup of almonds, and 1/3 cup of raisins.   Cook for 5 minutes.


Next add in the squash and get it coated in the oil.  (ALSO!  put the chicken (yogurt and everything!) in a baking dish, and bake it in the oven at 375° for about 30 minutes )


After the Squash has been added its time to spice the dish up.  The only thing that is complicated about this dish is finding Harissa Paste.  this basically makes up the Tajine flavor.  (WARNING) this stuff is MAD spicy!!!, so dont use too much.  i used 2 teaspoons, i could have used a little more but not a whole lot.  so throw that in, along with 2 tablespoons of honey.


The Harissa Paste and the honey will melt into the oil.  toss everything around so everything is nicely coated in the oil.  Then add some water to the pot.  just enough to cover the entire bottom of the pan, but you don't want everything swimming in it.  This is going to steam everything


Well that's pretty much it!  oh yeah, i added some saffron just for kicks.  then i put the top on and let it sit for 20 minutes steaming away!


20 minutes later this is what came out!  everything was all soft and delicious and had soaked up all the flavor of the Harissa.


A couple of minutes later the Chicken was ready - check to make sure its cooked all the way through


Here it is all on a plate, chicken, tajine, also served along side some brown rice and some sauteed greens.
Lemon slices are always good too for both the chicken and the Tajine!


MMM MMMM MMM delicious!!!